 Today's surprise came while I was walking the trail at MacIntosh Lake with a couple of friends. There's a great vein of quartzite running through the park, some rocks as large or larger than my living room chairs.... I spotted a small quartzite rock embedded in the middle of the path, with a clump of grass spiking off the top like a head of hair. "Hey!" I said, pointing, "It looks like a face!" A blank face. So we searched the ground for something to lay on the rock to complete the image of a face.... three small acorn hulls and a curvy stick. My friend captured the funny face with her iPhone. We continued our three mile hike, wondering who would notice our funny rock face. Maybe it would make someone smile today!
 Which reminds me what happened to my face this week, which wasn't nearly as funny from my point of view. It's a long story, but I'll make it brief: I was hit in the face with a basketball... smacked in the face is more like it. I'm walking along the front of the gym when a wildly thrown ball sought me out and beamed me good on my forehead/nose. Fortunately, it struck me from above the nose and not below. My glasses were bent out of shape, but easily repaired. My nose, on the other hand, was fractured... a small one, but fractured just the same. It's not looking too bad today, three days later. And it doesn't hurt nearly as much as I thought such an injury would. Make-up easily hides the worst of the bruising.
No doubt, I was never meant to be anywhere near a gym unless it's to be part of a school assembly. The only thing I could ever want from a basketball is for it to be still while I used it as a model for a drawing. I do feel safer in my classroom, where I can play with markers and paints all day! Which is why I posted today... to share something I just learned this week: what to do with all those used up, dried up washable markers. You know the ones I'm talking about... the kids leave the caps off, or the marker has just been used over and over again and finally doesn't do what it was made to do.
 I'm always seeking ideas for what to do with all left-overs and throw-aways when things get used up. Like empty wet-wipe tubs, or tubes from the copy machines, lids from plastic bowls, glue stick caps, old crayons, ... and used up washable markers. I'd heard about how one could make watercolor from dried up markers.
 Since it's the end of the school year, I wanted to get rid of the old markers, but didn't want to just throw them away (in some ways I am like a hoarder). I thought I could let the students help me sort through the markers as they worked on their project. Last week, while students colored their abstract alphabets, I told them to toss their used up markers in the bin on my desk, and by the end of the week, I had a bin filled with used up markers.
 This week, I made watercolor paint from the old markers. You can see in the photo how simple it is to get the last of the color from the markers by soaking them over night (or over a weekend) in a cup or jar of water. I used tap water, but you could probably get a cleaner paint using distilled water. The longer the markers soak, the deeper and richer the color you'll get. The ones you see soaking in the photo above had been soaking for just a few minutes, but the next day the colors were quite dark and rich. Then you just pour the watercolor into a squeeze bottle with a cap.
 If you don't have enough markers to make your own watercolors this way, send out an email to all your teachers and ask for any of their old markers, the ones they're throwing away. You don't even have to use all the same blues to make blue watercolor, or all the same oranges... I mixed the light blues and the dark blues into one hue. The magentas and reds together, the light and dark greens together, etc.
Oh and don't throw away the marker caps... you'll have a basketful of them eventually, so save them. Why, you ask? I haven't any ideas yet, but I'm sure I'll think of something to do with the plastic caps. For starters, they're easy to hold if you need a little circle-maker. Easy for students to hold it while they trace the circle around the base. I've been looking around other art teacher blogs to find out what they do with their old caps, and found this cute idea for making finger puppets at Captain Crafty.
I want to show off some Abstract Alphabets in this post. First Grade students work here isn't colored yet. I'll post the finished ones next week. They look pretty good.

Their task was to create an abstract drawing by connecting letters and numbers to create shapes and spaces in which to color.


Fourth and fifth graders have been working on Escher-like Tessellations that we started a couple of weeks ago. I let them choose from 12 different animal Roylco tessellation templates to save some time. In the past I showed them how to make their own templates, but it takes longer and many of the students were just not satisfied with the results.
.JPG)
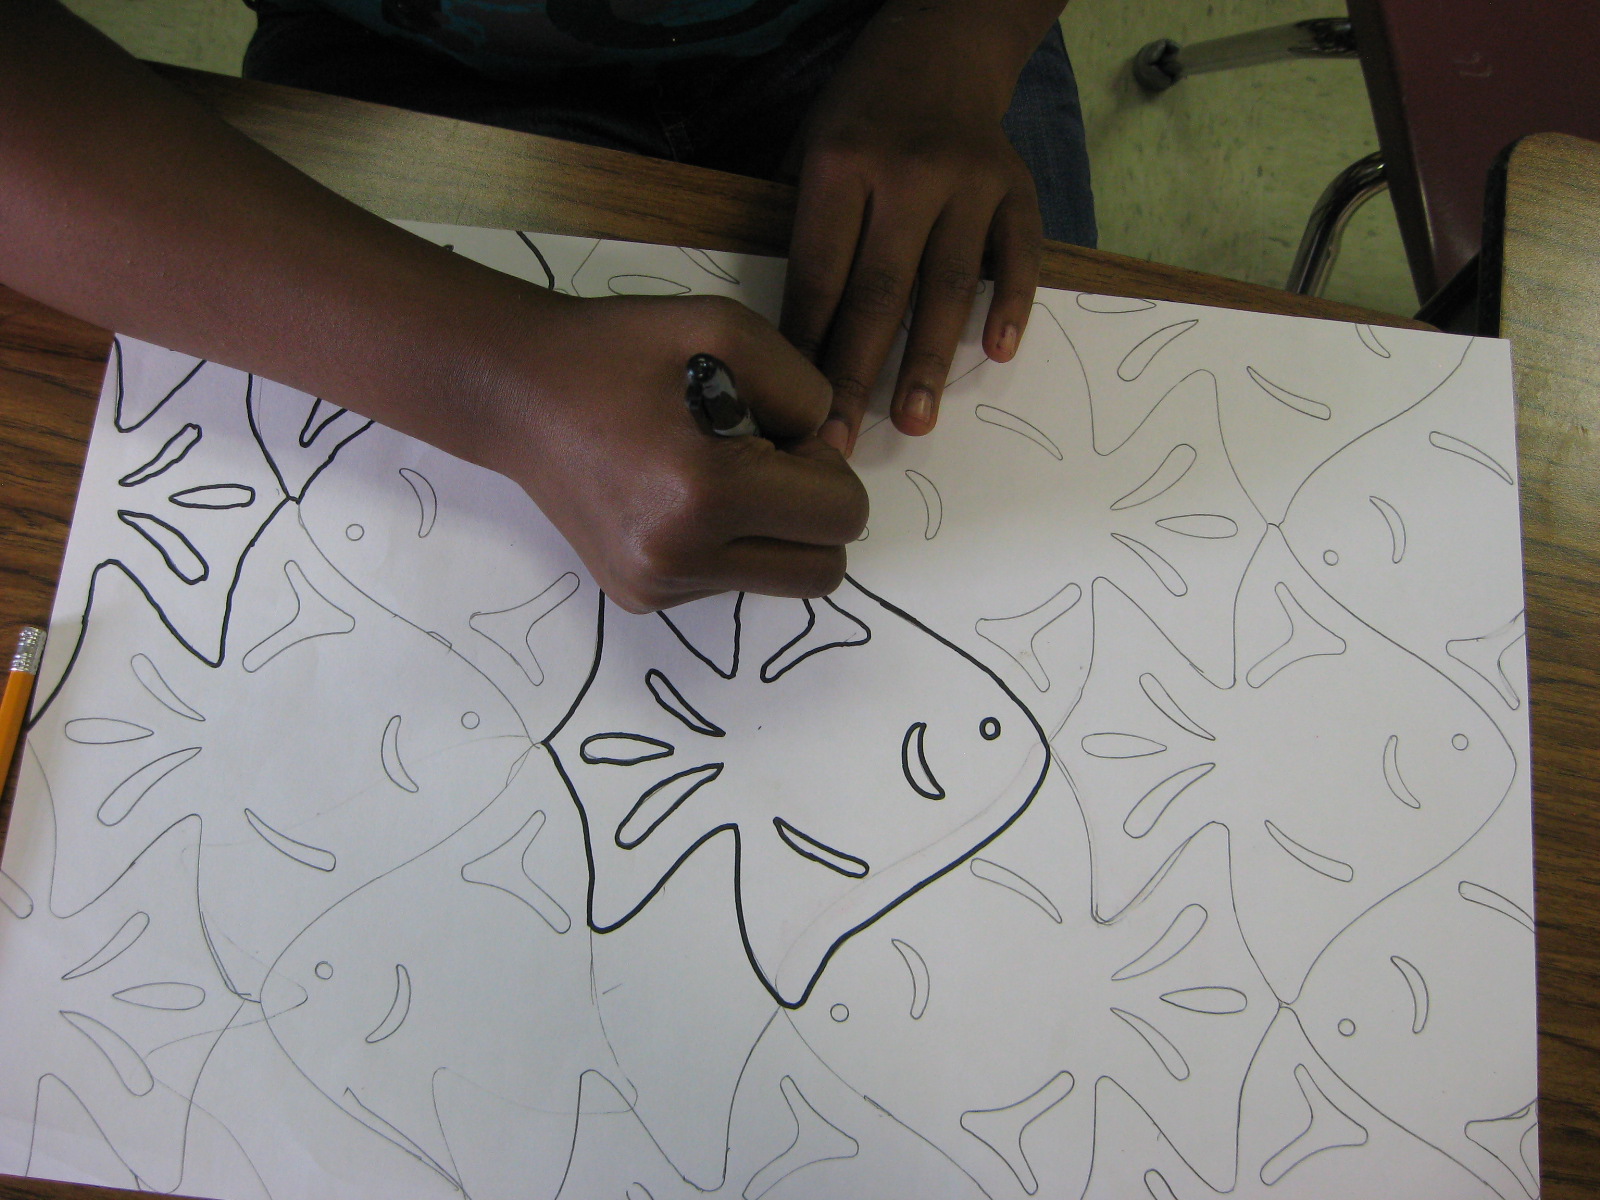
The challenge for the students was tracing the templates and placing them in the right position without any overlapping. They are quite pleased with their drawings. Coloring begins next week, if they don't run out of school days!

That's it for today's post. Next week I'll be remediating students who didn't pass the reading EOG. I'll be the best darn reading teacher I can be because that's what I did before I became the art teacher. :-)